Tile Shower Installation: 6 Essential Steps.
- lipetzenterprises
- Apr 17, 2024
- 2 min read

When it comes to home remodeling, adding a customized tiled shower is on the top of our list. It's easily the most important feature of any bathroom remodel and will have an immediate impact on your daily routine.
There are many benefits when considering having a tile shower installed in your home. For instance, tile is very durable, easy to clean, and look incredible. Also, we've seen many people switch out their old tub surrounds for a standing shower for ease of use.
With that being said there are a number of steps that must be done correctly by the tile installer to ensure a product that will not leak water, grow mold and withstand the test of time.
The purpose of this article is to educate you on the proper preparation and installation methods that will lead to a successful shower remodel. As a bonus, to protect yourself from liability we've cited specifications and industry standards from ANSI.
Step 1: Install Backer Board (A108.11).

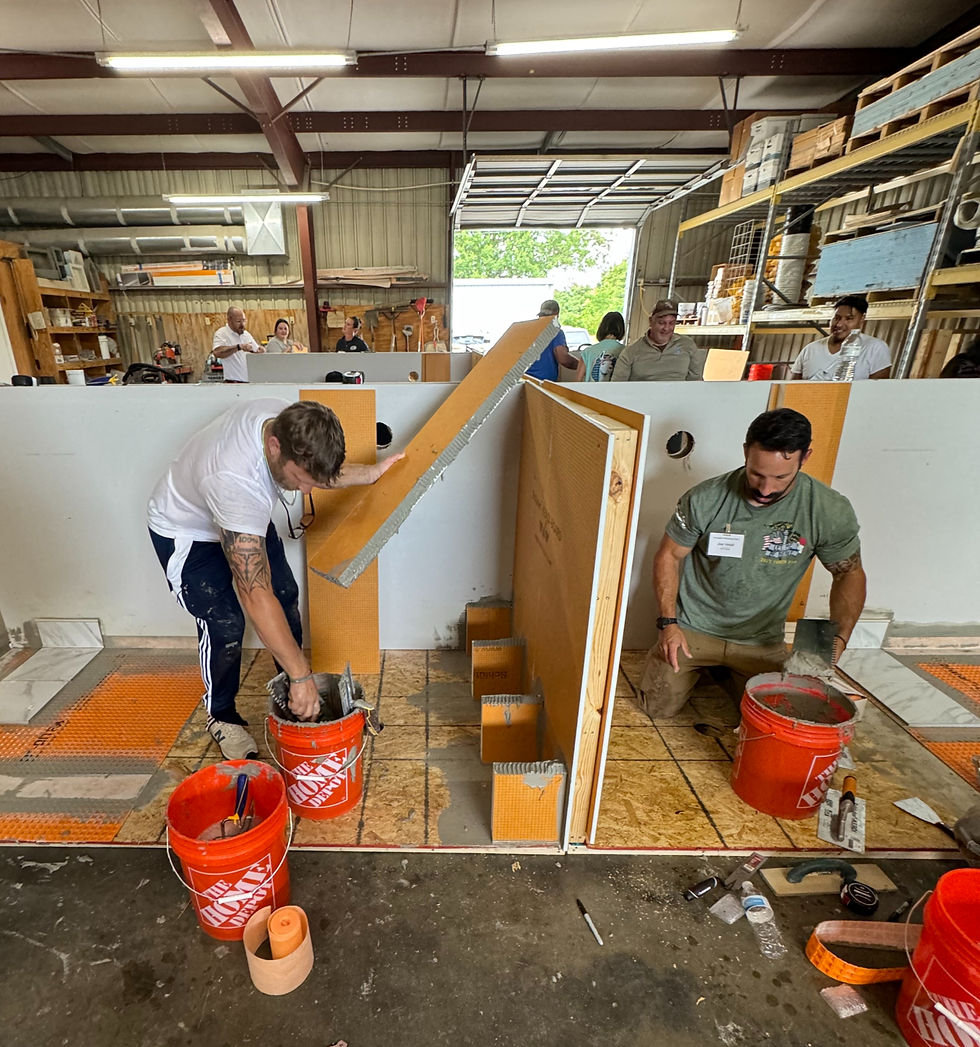
For this shower we hung James Hardie Cement Backer Board on the wood framing members. When hanging this product its critical that you follow the manufactures and ANSI specifications. For example, there must 1/8 movement gap between boards and some cement boards cannot sit within the mud bed. Another detail that can be overlooked by inexperienced installers is using the proper fasteners so they won't corrode over time.
Step 2: Apply seam tape (A108.11).

This next step is to tape off all seams, corner joints and screw holes. Again, make sure that the correct materials are used here. You must use alkaline resistant tape and a modified (latex) thin-set.
Step 3: Mud bed and Drain (A108.1A)

The shower floor can be problematic for inexperienced tile installers. With the biggest issue being proper slope to the drain. For water to flow freely to the drain there must be a 1/4" drop for every 12" of distance.
Step 4: Waterproofing the Floor (A118.10)

For this shower we decided to use a sheet waterproofing membrane for the floor. There are different ways to do this but we found this to be one of the most efficient methods.
Step 5: Waterproofing the Walls (A118.10)

We went with a liquid waterproofing membrane from Mapei for the walls. First we apply a coat to all of the seams. Then we apply 2 coats to the walls with about 45 minutes of dry time between each coat.
Step 6: Tile Installation (A108.5)
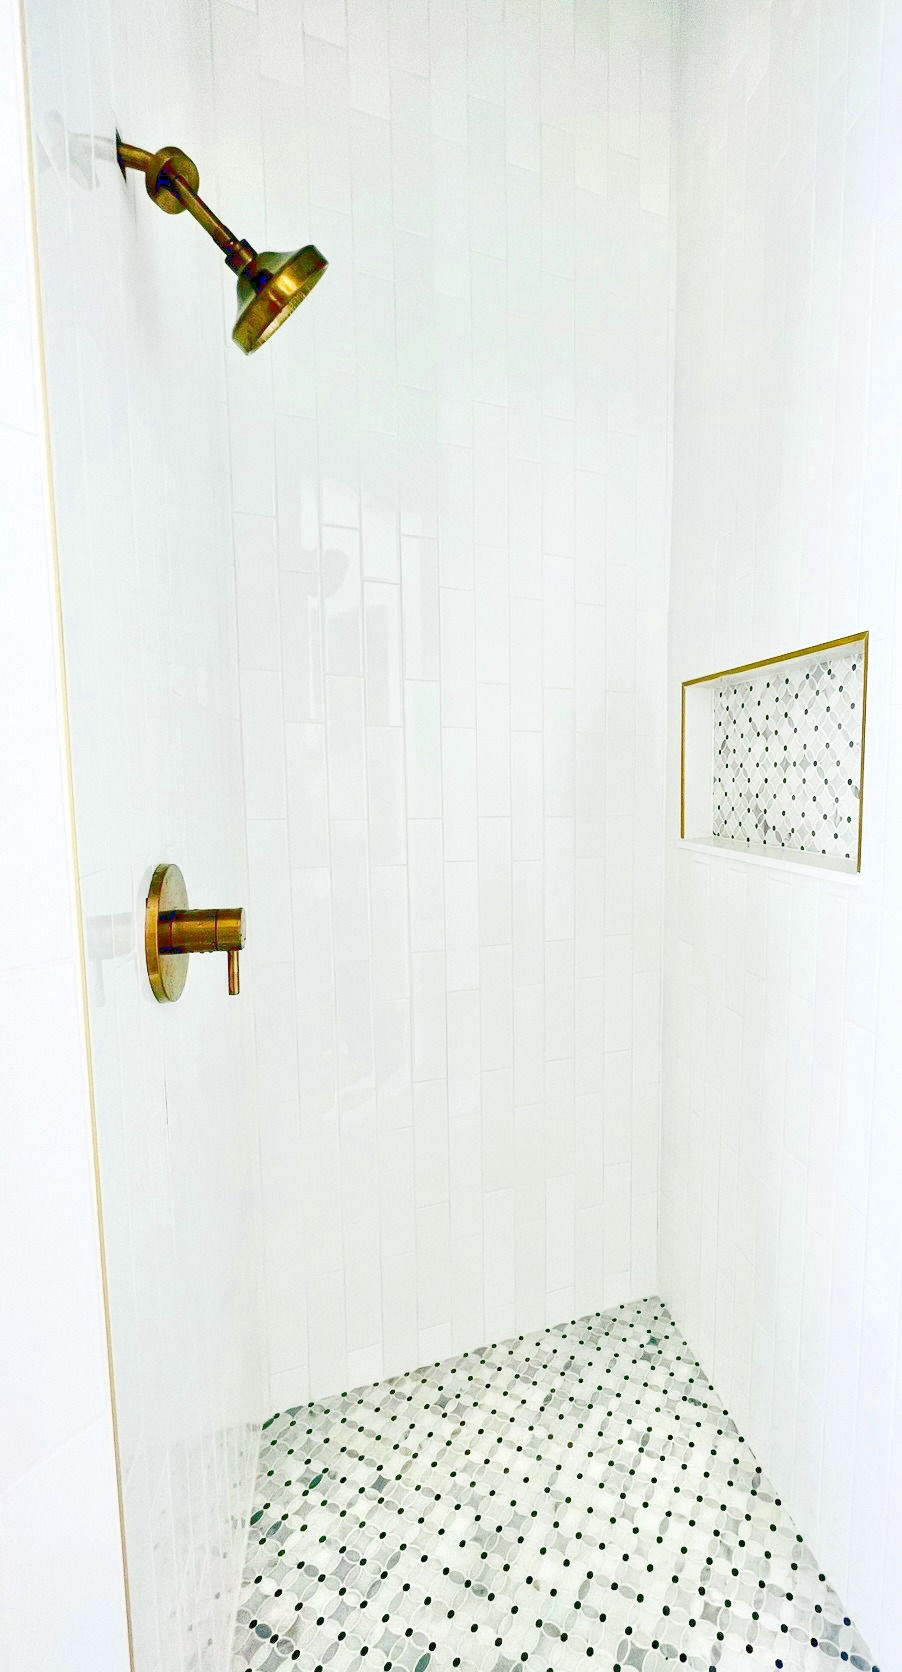
Lastly, tile goes up on the walls and floors. We always recommend preparing and tiling the ceiling because steam will travel up and can lead to mold down the road if it is just left with sheetrock.


Comments